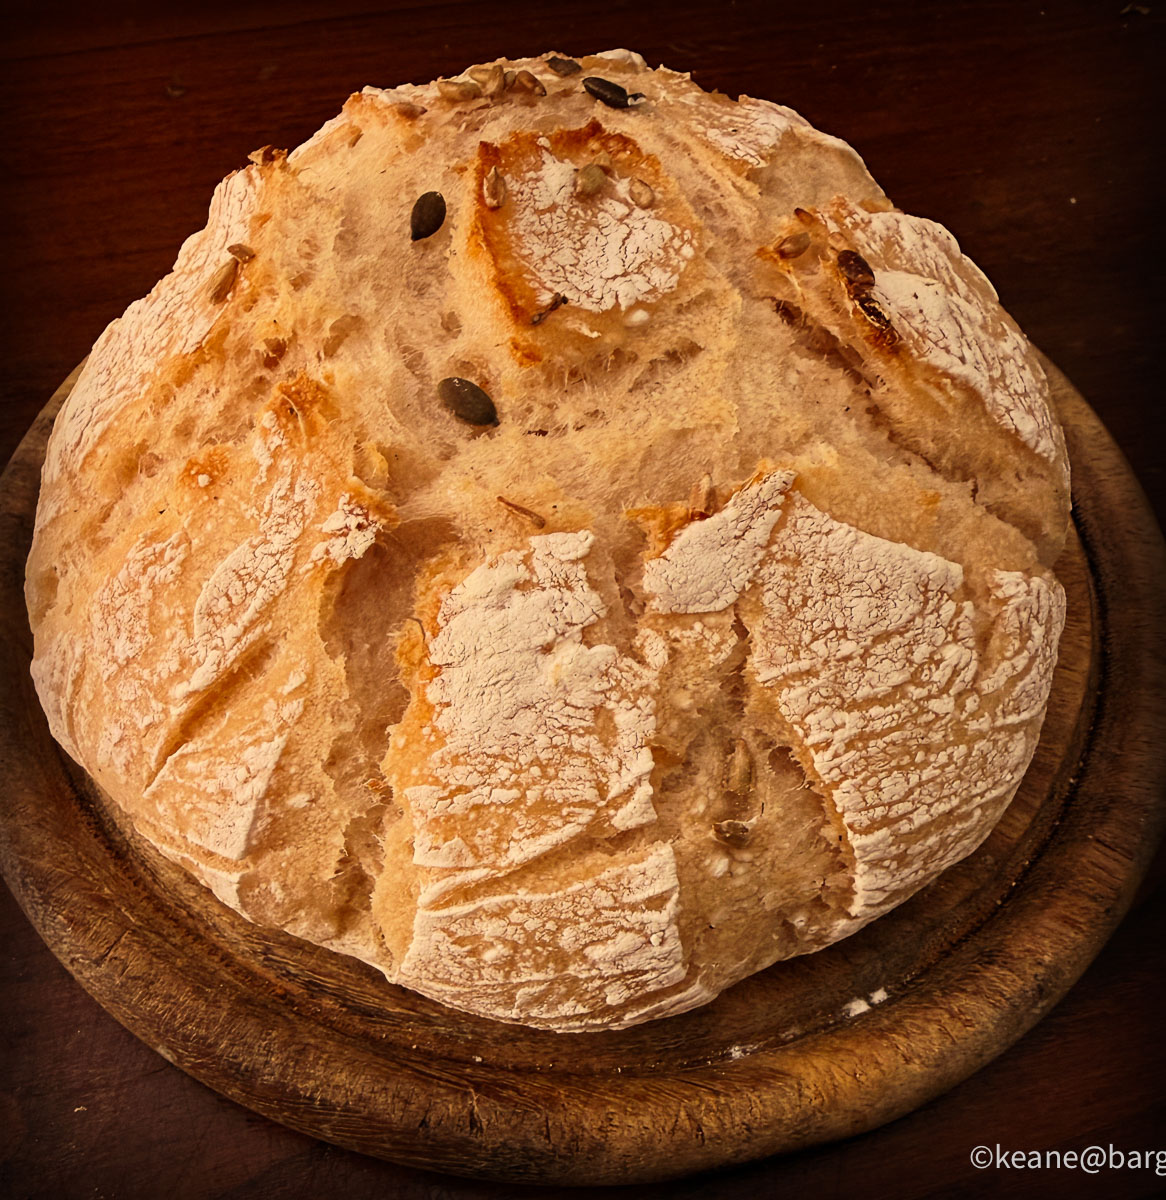
Easy Gluten-Free Sourdough Bread in a Terracotta Bread Baker
This simple gluten-free sourdough loaf requires no kneading and very little effort. Baked in a terracotta bread baker, it develops a crisp crust and a moist, flavourful crumb.
Ingredients
– 390g gluten-free bread flour blend
– 1 teaspoon salt
– 100g active gluten-free sourdough starter
– 600ml warm water
Method
1. Make the Dough
Place the flour and salt into a large mixing bowl and mix together.
Add the active sourdough starter and the warm water.
Stir thoroughly until all the flour is incorporated and there are no dry patches.
The dough should be moist and sticky, more like a thick batter than a traditional wheat dough.
Cover the bowl with a clean tea towel.
2. Rise
Leave the dough to rise overnight until it becomes noticeably lighter and puffed up.
The dough is ready when small bubbles are visible and the surface appears airy.
3. Shape the Loaf
Lightly flour your work surface with gluten-free flour.
Gently scrape the dough from the bowl.
Using floured hands or a dough scraper, shape it into a rough round or oval loaf. Do not overwork the dough.
Place the loaf onto a sheet of baking paper.
The dough should appear slightly puffed up and feel lighter. Unlike traditional wheat bread, gluten-free sourdough will not usually double in size.
4. Prepare the Terracotta Baker
Place your terracotta bread baker, complete with lid, into the oven.
Preheat the oven to 230°C and allow the baker to heat thoroughly for at least 15 minutes after the oven reaches temperature.
5 Bake
If desired, lightly score the top of the loaf with a sharp knife.
Carefully remove the hot terracotta baker from the oven.
Using the baking paper as a sling, lower the loaf into the baker.
Replace the lid and return it to the oven.
Bake:
– 35–40 minutes with the lid on
– 15–20 minutes with the lid off
The loaf is ready when the crust is a rich golden brown and the base sounds hollow when tapped.
6. Cool
Transfer the bread to a wire rack.
Allow it to cool completely before slicing.
For the best texture, wait at least one hour. Gluten-free bread continues to set as it cools, and cutting it too early can make the crumb gummy.
The finished bread should have a crisp crust, a moist crumb and a pleasant sourdough flavour.


Pane Semplice Senza Glutine a Lievito Madre nel Forno in Terracotta
Questo pane senza glutine a lievitazione naturale è semplicissimo da preparare, non richiede impasto a mano e richiede pochissimo lavoro. Cotto in un contenitore di terracotta per il pane, sviluppa una crosta croccante e una mollica morbida, umida e ricca di sapore.
Ingredienti
390 g di miscela di farine per pane senza glutine
1 cucchiaino di sale
100 g di lievito madre senza glutine attivo
600 ml di acqua tiepida
Procedimento
1. Preparare l’impasto
Versare la farina e il sale in una ciotola capiente e mescolare bene.
Aggiungere il lievito madre attivo e l’acqua tiepida.
Mescolare accuratamente fino a quando tutta la farina sarà ben incorporata e non rimarranno parti asciutte.
L’impasto dovrà risultare morbido e appiccicoso, più simile a una pastella molto densa che a un tradizionale impasto di pane.
Coprire la ciotola con un canovaccio pulito.
2. Lasciare lievitare
Lasciare lievitare per tutta la notte, finché l’impasto non risulterà visibilmente più leggero e gonfio.
Sarà pronto quando sulla superficie compariranno piccole bolle e l’impasto avrà un aspetto ben aerato.
3. Dare forma al pane
Spolverare leggermente il piano di lavoro con farina senza glutine.
Rovesciare delicatamente l’impasto dalla ciotola.
Con le mani infarinate oppure utilizzando un tarocco, modellarlo delicatamente in una forma rotonda o ovale. Evitare di lavorarlo troppo.
Appoggiare il pane su un foglio di carta da forno.
L’impasto dovrà apparire leggermente gonfio e più leggero. A differenza del pane tradizionale, il pane senza glutine a lievitazione naturale normalmente non raddoppia di volume.
4. Preparare il contenitore di terracotta
Inserire il contenitore di terracotta per il pane, completo del suo coperchio, nel forno.
Preriscaldare il forno a 230°C e lasciare riscaldare bene il contenitore per almeno 15 minuti dopo che il forno avrà raggiunto la temperatura.
5. Cottura
Se lo si desidera, incidere leggermente la superficie del pane con un coltello ben affilato.
Estrarre con molta attenzione il contenitore di terracotta dal forno.
Utilizzando la carta da forno come supporto, adagiare delicatamente il pane all’interno del contenitore.
Rimettere il coperchio e riportare il tutto nel forno.
Cuocere:
35–40 minuti con il coperchio
15–20 minuti senza coperchio
Il pane sarà pronto quando avrà assunto un bel colore dorato intenso e, battendo leggermente sul fondo, produrrà un suono vuoto.
6. Raffreddamento
Trasferire il pane su una griglia.
Lasciarlo raffreddare completamente prima di affettarlo.
Per ottenere la consistenza migliore è consigliabile attendere almeno un’ora. Il pane senza glutine continua infatti ad assestarsi durante il raffreddamento e tagliarlo troppo presto potrebbe rendere la mollica umida e leggermente collosa.
Il risultato finale sarà un pane con una crosta croccante, una mollica morbida e umida e il caratteristico, piacevole sapore del lievito madre.